Hello everyone! Well it has been quite a long time since I have posted anything on my blog. Life has been like a roller coaster for me but I am thrilled to say that I've "left the ride" and now cruising thru life smoothly, calmly and finally truly happy and at peace. I thought that I would share with you the latest crafty things that I've done and hope that you get inspired or at least give you some ideas for your own wedding or event. In my true form, I did all of the below on my own set shoestring budget because if you've been following me for very long you know that I love to challenge myself and see just what I can do for very little money. Now needless to say, all of the little things did add up but I'm proud to say that it wasn't nearly as much as it would have been had I not made these things myself. Yes, it is a lot of work but you can do these things yourself as well and don't have to be a master crafter to do so. Just arm yourself with a hot glue gun and paint brush and you're off.....! By the way, if you have friends close by that can help...ask them for help. Maybe you could have them come over and have a night of doing nothing but crafting and creating. My best friend lives many many miles away in a different state but yet she still managed to help me long distance. I will show you what she was able to do for me and mail to me as we go thru the pictures. I do hope you enjoy and get inspired.

I suppose that I will start with the centerpieces that I made. For starters, I bought round plastic silver coated platters from Dollar Tree along with their reindeer moss and regular moss to make my base. Then I bought the glass vases, a glass candle stick and 2 cracked glass votives along with their burlap and lace ribbon. I did what you've seen I'm sure many times of using the E6000 to glue the glass candle stick to one of the tall glass vases and then at the lip of that I used some lace trim that I found at Tuesday morning. At the bottom of my flower vases, I grabbed some of the white rock that you can find in Dollar tree in the floral section just to give the bottom of the flower vase a little added touch. I'm extremely grateful and blessed to have had my mother in law and dear close friend of the family help me with the floral arrangements. I've never been very good at arranging flowers but did learn a lot from the two of them as we were making these. Then for the two plain vases, I simply added the burlap and lace trim along with some pink string pearls. All of the candles were purchased thru Amazon where I found a much better deal than I could locally. So I highly suggest that you bargain shop online to find the best deal. All the little things do add up so anywhere that you can save a dollar or two my suggestion is that you do so. In the bottom of the two cracked glass votives, I just added some plain epsom salt that yes I found at Dollar Tree. This not only gives it a little something extra but also will help make it easier to remove the melted candle wax. The final touches to the centerpiece were little white and silver birds that I found at Dollar Tree as well along with a random tea cup from 4 sets of different china. I'm estimating but I'm positive that I had under $20 for each centerpiece and that includes the flowers. By the way, we utilized the things we had growing in our own yard anywhere we could. Such as the vinca and ivy. If you have those things in your yard or a friends yard who will allow you to cut and use, do so!


Since this was an outdoor wedding, we did rent a tent just in case it decided to blow up a storm. Plus even though our wedding was at sunset, we still needed to keep our guest out of the scorching sun before the ceremony started. So I should tell you now the things we did rent at our local party rental store. One being the tent of course and that was the largest expense. Then we rented the round tables, tablecloths, pink napkins and the utensils. Now our rental store also offered rentable mixed china but we were so very fortunate to have several sets of china and they just so happened to all have pink in them. So we mixed them all up making sure that each place setting did not have matching pieces. The gold chargers were found from where else? Yes, Dollar Tree and our champagne glasses were found in the clearance section of Tuesday Morning. Always check these places....Tuesday Morning and TJMaxx have some really good finds you just have to be consistent and check on a regular basis. Even enlist your friends and family to help you look for deals when they are out shopping.
So you've probably already noticed that I do not have the seating in place in these pictures. That is because instead of renting chairs which is something you might should consider if you have a large guest list, we used the same chairs for seating at our tables as we did for the ceremony. What we did was ask our siblings and children to move the chairs from the ceremony area to the tables for the elderly and the ladies attending. And no we didn't rent those chairs either, we instead used mixed matched dining chairs from inside our home and from whoever else would allow us to use theirs. What pulled all of those together and made them seem to blend and work was the fact that I had placed on each chair a white lace sash ribbon. I had found this and bought it on sale at Hobby Lobby in the wedding section. For each chair, I was able to get 3 sashes from one roll. Regular price for these are $12.99 but DO NOT pay that! If they aren't on sale the week you are looking wait a week and they will more than likely have them on sale for 50% off. That will break down to only paying a little over $2 per chair. Plus if you're crafty, you can easily reuse those for other projects. At least that is the way I looked at it and certainly have saved them to reuse. Below is a picture of the 6" lace ribbon.


So in the pictures above you will see my "aisle posts" and floral arrangements. You also get a little sneak peek at the mismatched chairs with the ribbon on them. Oh I did rent the pink sashes from the local party rental store here in my area. I only used those sashes on the chairs lining the "aisle". And then those chairs were all placed at the wedding party table. We went ahead and placed the MR and MRS signs on the backs of the chairs that our mothers sat in then those were the ones of course that we sat in for the reception. Yes it was totally planned that way and felt very symbolical. Now onto those aisle posts. We just happened to luck out at our local habit store. We found several things we could use for our decorations, one of which were these stairway posts. They were already white so that was a plus for us. Then we already had the little metal hangers that we just spray painted and added to each post where I then hung the little floral arrangements. Those were super simple but added so much to the overall look. Once again from Dollar Tree I purchased the small glass vases with the fluted tops and added some wire that we already had to give the ribbon that they hung from good support. Then I added some of that same burlap and lace trim from Dollar Tree along with some string flat back pearls that you can purchase at just about any hobby shop to the lip of the vase and added our flowers. As you can see, we utilized the vinca that was in our yard along with some fern leaves to fill in the vases.

So now I'll show you the entrance that we created to our backyard. I might add just in case you spot this in other pictures further on down this post, that we had some really strong winds blow in and our organza panels didn't stay exactly in place on the "entrance". So for the "bones" of the entrance, we found these mismatched doors at our local habitat and I painted them and then distressed them to give them that shabby look. My soon to be husband had made bases for them using plywood and 2x4's. Then also at our local habitat he had spotted the piece that we used across the top of the doors to connect them together. What that originally was is a wooden "apron" that had a florescent light behind which I believe originally probably hung over someones kitchen sink. He disassembled it and we only used the pretty front. So here is one of those spots that I was telling you my best friend jumped in to help from long distance. She printed out the wording on this side on a special printer paper that I could then simply decoupage on the front of the sign and I then free handed and painted the roses to bring some more pink into the entrance. Of course before doing all of that I painted the connecting piece white and used the same process to shabby it up. I found white organza window scarves online for $5 each and used those as draping as well as swag "roping" around the backyard. I unfortunately do not have a close of up that but will try to see if I can find a picture somewhere with that in the background and take a close up of the posts we used for those. So we also borrowed ferns from friends that were already well established in pots to sit around in different spots.

Now for a little more close up shot. First off the pole in the middle of the tent was removed for the ceremony but was replaced during the reception. The above picture is the view from the entrance all the way down to the arbor where my soon to be husband was waiting for me. The wreaths I made myself. I believe that I paid less than $5 for a grapevine wreath and then simply used inexpensive white spray paint on them. Making sure not to give them full coverage for the shabby look I was going for. Then the silk flowers I found on clearance at Michaels. They actually were premade bouquets where I disassembled a couple of them and added more of the moss from Dollar Tree as well as some eucalyptus from Hobby Lobby (at 50% off). I paid less than $10 for each wreath. You can see in the distance more of the borrowed ferns and white hanging lattice lanterns that we found once again on clearance at TJMaxx. They were so beautiful when they were lit after sundown. The arbor was one of our larger purchases and you can certainly rent an arbor but we plan on using it in our garden so that was an expense that didn't go to waste.

Here is a close up of the front of the entrance sign. Once all the guest had arrived and everyone was seated the draping curtains were closed so that I could make my way around without being seen by my awaiting soon to be husband and guests. My brother waited on the other side for me and he and a friend opened the curtains as I approached. I will show you what we used to hold the curtains back at the end of this post.

So as we were looking around in our attic, we came across a wood twin size bed frame. Instantly I thought.......easel sign!!! BINGO! So I got to work giving it a coat of paint and then distressing it up. I bought a black mat board at Michaels and used a 50% off coupon for it. You can find these in the framing section of your local Michaels or probably from Hobby Lobby as well. I then hand painted what I wanted it to say and cut out roses from some scrapbook paper I had and decoupaged it in the corners of the sign. Then using some left over lace ribbon (the same that I used for the sashes on the chairs) and a bit of pink ribbon that I already had (which came from Dollar Tree) the sign was done.

Now we HAD to add a touch of our humor to the whole thing. So my best friend had also printed off our funny little saying which is a story on its own mind you. But I added that to this wood sign that I already had after I painted it up pink, distressed it and added some more of those fussy cut roses to it.
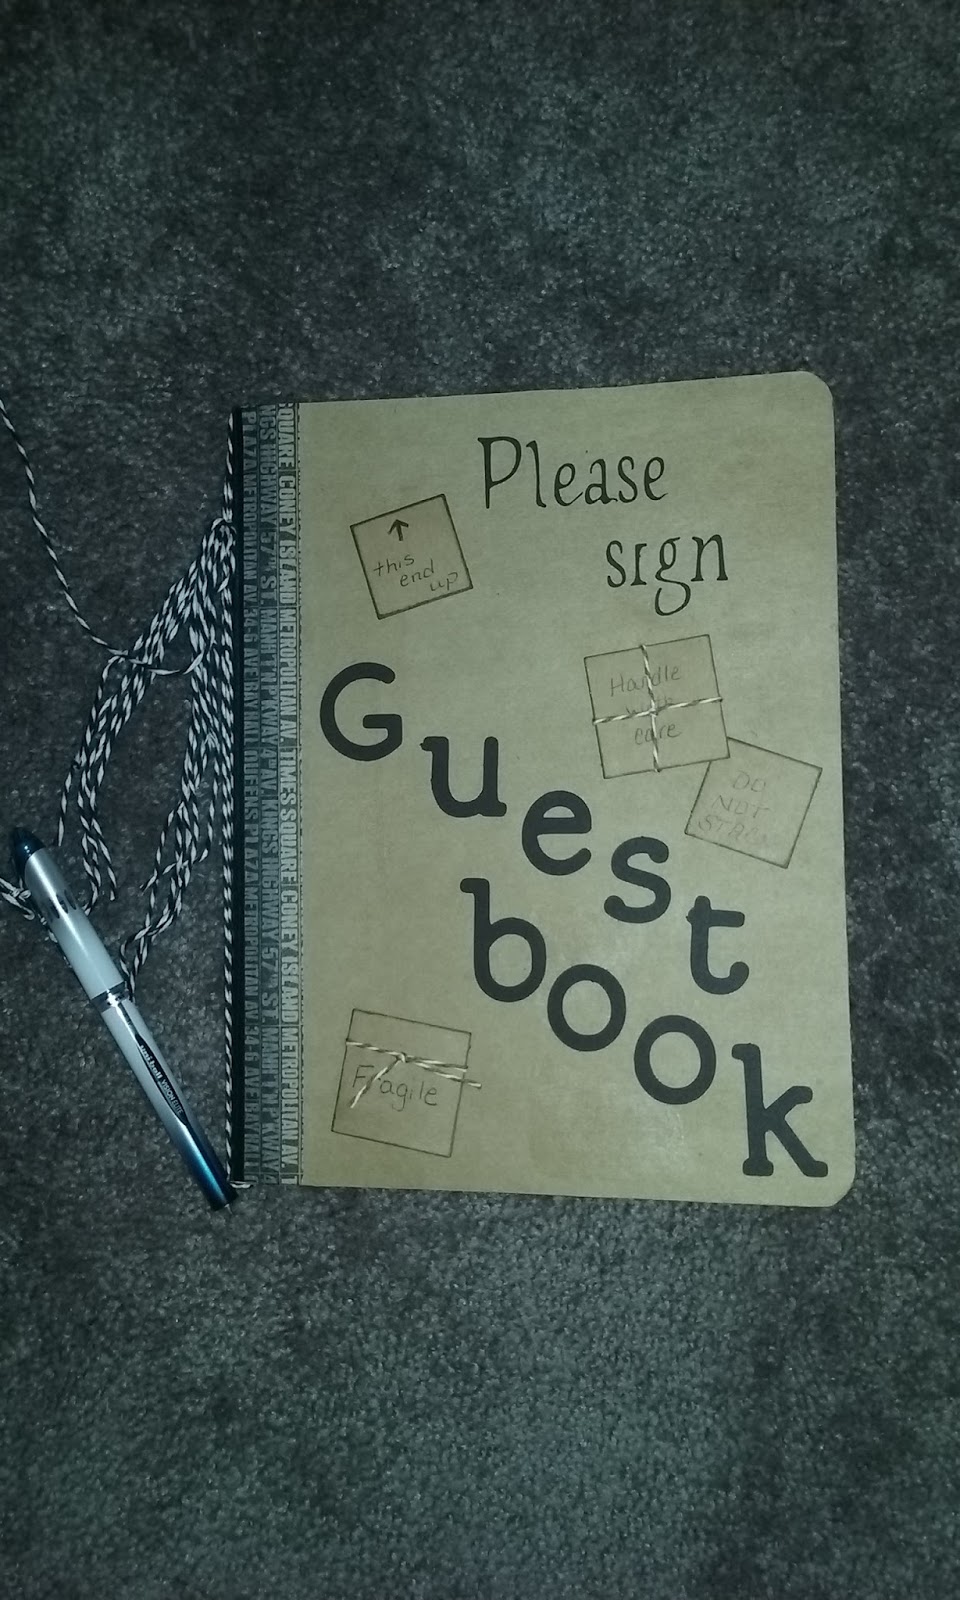
So this is another little sign that I hand painted and added more of the fussy cut roses too. That is a chalkboard sign that I found at Dollar Tree and I already had an easel to put it on. This sat on top of my grandmothers old singer sewing machine that acted at the sign in table for guests. You can see the guest book laying there as well that I made myself.
This stack of books acted as decoration as well and was totally an inspiration from Pinterest. I used the same materials to decorate it as I've used throughout the entire wedding. The majority of those materials came from Dollar Tree.
We used a plate that my best friend sent me for my birthday this year to place our champagne glasses on and I will use it in our home somewhere. If you're looking to save money on your wedding...look around your home. See what you already have that will go with your color scheme and overall theme and utilize those things throughout your wedding. Or if your parents or friends have things that you can borrow then by all means use those items.
So onto my favor table. This table was placed just inside the garden entrance. I used a antique typewriter that I've had for years and use during Christmas with a letter to Santa in. I thought that it fit well with the vintage feel. The "letter" in the typewriter, my best friend made for me and then I just placed one of my grandmothers crocheted doilies on it along with one of the clearance floral silk bouquets from Michaels.
For one of my actual wedding favors we used these little glass jars bought from Tuesday Morning on clearance and added honey to them. My best friend made our labels for us. Then I simply added a little pink ribbon along with a honey dipper that I found on Amazon for pennies on the dollar.
We used signs that we had bought one another or that were bought for us as gifts throughout the entire decor. They were not only meaningful to us but helped keep our overall cost down. Such as the sign you see pictured above. Also in the background is a basket filled with fans that I made for the guests in case they needed a little cooling off before sunset. I'll show you a close up of those below.

If you are having a wedding outdoors. I feel you should always be mindful of your guests. You want to do everything possible to make them as comfortable as you can. After all, they are sitting there waiting on your arrival. So with that said, think about the little flying and biting critters and make available to them something to combat that. In this little metal bucket I also had small OFF towelette packets that would keep those pesty little biting things away. Before the decorations were out we also sprayed our grass to kill the mosquitoes, fleas, ticks and all those unwanted critters. The sign I had seen on Pinterest and knew this was a must!

Here is a picture of the fans I made. We used paint sticks for the handles and thought our families would get a kick out of that since we did so much painting this time last year remodeling our home. The poem is a special one for us and I just knew it would be the perfect thing to put on one side of the fans. On the other side is just some of the same scrapbook paper I had used on other signs for the wedding.
This was our drink station set up to keep everyone hydrated and so they could help themselves. I was so pleased with how attractive this turned out. So the dispensing jars came from Walmart, the chalkboard crates are from Michaels (70% off), the little silver platters to catch spills are from Dollar Tree along with all of the glasses shown here, the florals are more of those clearance bouquets and one of the signs I made myself and the other one is one we had bought one another. The tablecloth was purchased at Walmart as well and the table was borrowed.
This was one of two galvanized buckets purchased from Walmart that we used to chill our champagne.
Just one of our meaningful signs we have given one another and incorporated it into our wedding.
So for our bar top. I took another picture that I had found for inspiration off Pinterest for these decorations. Since I had already decided to use the honey for the favors I thought it would only be appropriate to use these for the bar top. Which comes from one of favorite country singers Blake Shelton. So using an empty wine bottle and an empty whiskey bottle I created these shabby chic bottles. And added some eucalyptus that I bought at Hobby Lobby (50% off) as well as a couple of mirrors that we already owned and more leftover lace ribbon.
And of course more signs that we already owned as well as another piece from one of the china collections.
I can't take any credit whatsoever for the floral arrangements on the arbor. I had a vision in my head as well as an inspiration picture and our good close family friend and my new mother in law made it a reality. As good as these pictures are they are no where close to showing just how gorgeous they truly were in person.
We did however make the pedestals for either side of the arbor. Well we made one actually to match one that his mother already had and we sort of inherited it. I only added a fresh coat of paint to both of them and added the hand lettering to the fronts of them. They were perfect for our sand ceremony.
So this is what I called our memory table. It was dedicated to all those who couldn't be with us on our special day.
I guess that I will just end this post with some pictures that were taken after dark and then a couple of pictures of what it was looking like as we started transforming our back yard. In those pictures you will see more of the stairway posts that we used to drape the sashes for roping off the back yard. Instead of using the little hangers like we used for the "aisle" floral arrangements. I bought black candle holders from Dollar Tree spray painted them and we simply screwed them to the posts. Cant get much more inexpensive than that and they actually worked perfectly! So I hope you enjoy the rest of the pictures and get some ideas for yourself.
Here is a close up of the black candle holders from Dollar Tree that I painted and was turned side ways and screwed to the post.
Thanks for stopping by.....................I'm off to work on mini albums for all these gorgeous pictures.....