Merry Christmas everyone!!!! I know that you saw my house all decorated last year but I have done a few things a little different. I thought that you might want to see it one more time, before I totally transform the living room. It want look anything like this after the first of the year and I'm sooooo excited to get started on it. It will take me a while with all the breaks I'll have to take but will be so worth it!
I thought this little stackable snowman fit just perfectly right there with the birdhouses.
I just love these winter pictures that I got for a steal on ebay a couple years ago.
Here's another picture of the pretty winter pictures that I picked up on ebay. I just love them.
My best friend Suzie sent me the woolly sheep that she made and the stack of books was something that I put together. You just simply take the backings off the books, add ribbon and embellishment and waaaaa laaaa you have a decoration.
I really tried my best to keep my decorations to a minimal this year as you can see on the top of the cabinets in the kitchen.
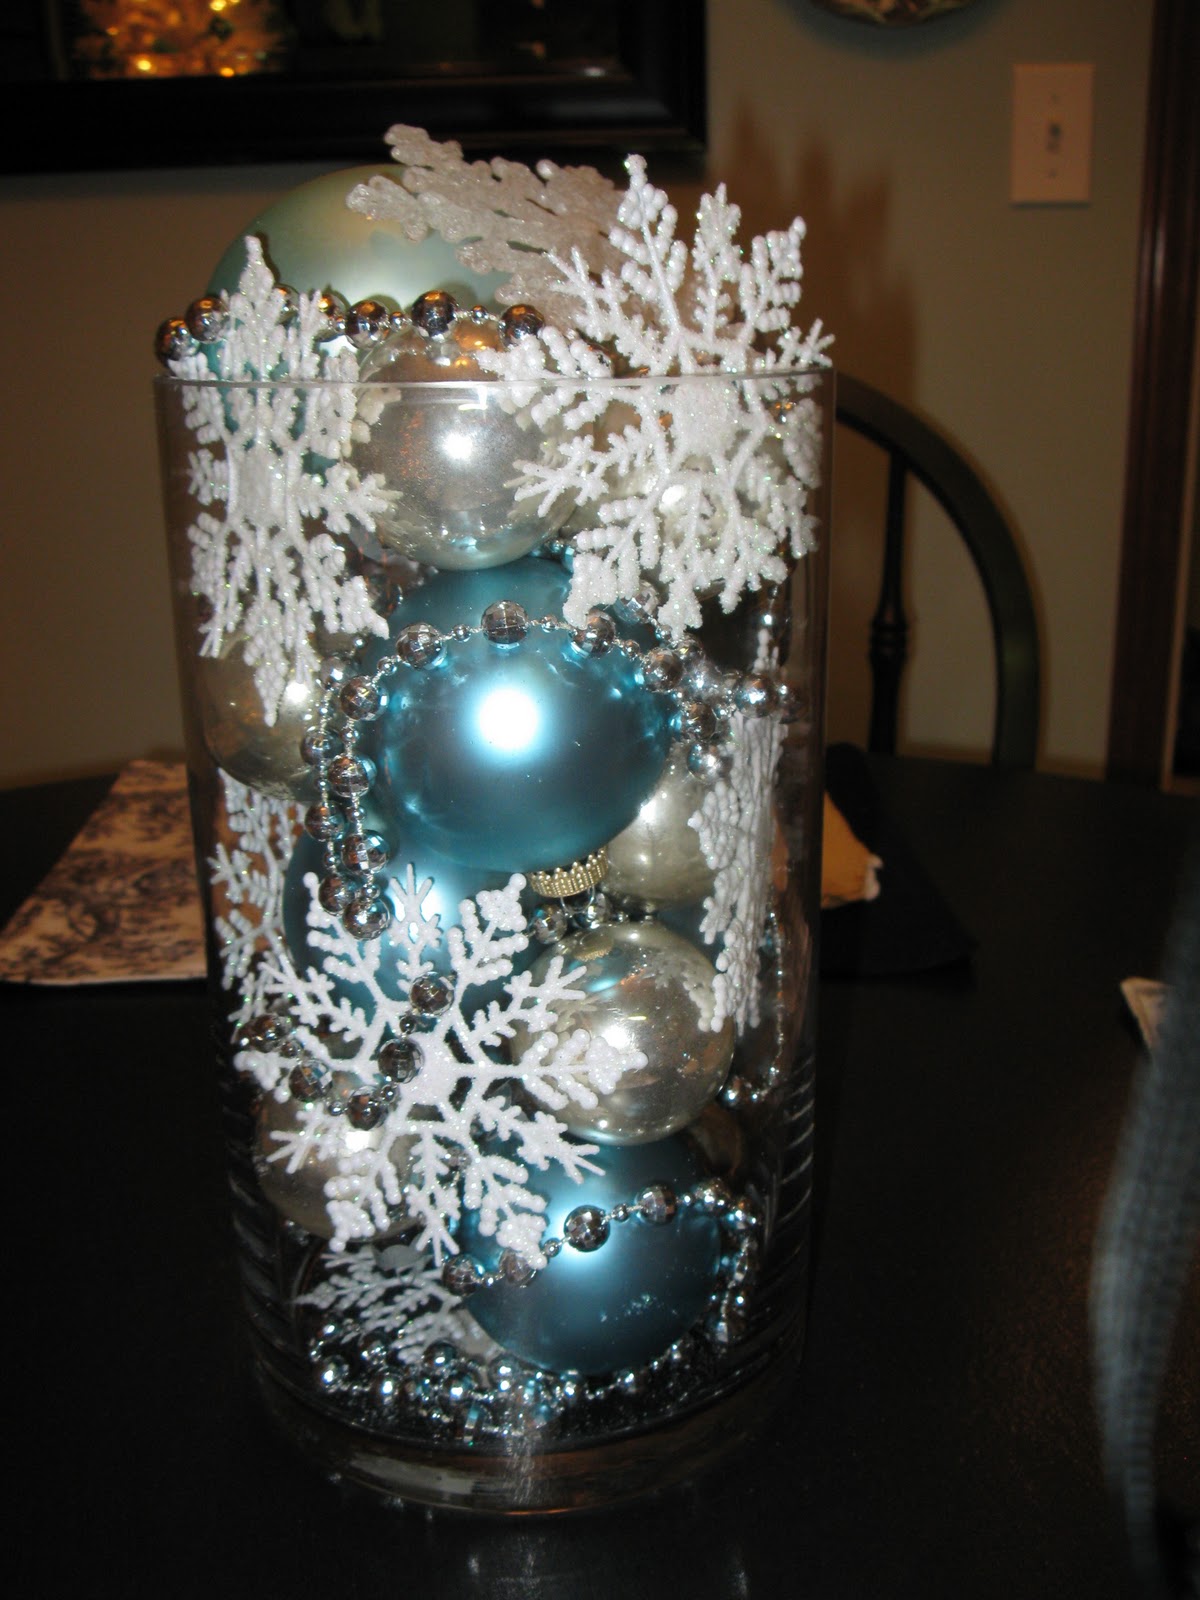
And TA DA! This is probably my most favorite thing in the entire line of Christmas decorations that I have out other than my white Christmas tree. I'm using this glass vase filled with Christmas balls, snowflakes and silver beads strands. It makes me smile when I eating.
And here's my white and robins egg blue Christmas tree again this year...yes its in my kitchen decorated with the vintage shiny brite ornaments that once again I was able to find for a little of nothing on ebay. Then I made birds nests, bird houses and took a feather boa and cut it up to tuck in the tree in random places.
Here's another view of the tree with the kitchen table in clear view and YES I did hang snowflakes from my chandelier!
I put the NOEL sign on the mirror above the kitchen table....I found that on clearance but can't remember where now...didn't give hardly anything for it.
The this ceramic reindeer I found on ebay also and I bought a set. The other one is on top of the kitchen cabinets. I had to add robins egg blue ribbon to them. I thought it was so pretty sitting underneath our message board that my best friend and sis (Suzie from over at Happy Shack) made me.
I have a small china cabinet and this is what I did with it....
Here are the outside decorations as you step up on the deck to come in the door.
I trimmed some of my pine trees and put them to good use. Then added red berries and flocked pine cones and a ribbon to embellish the pine clippings. Oh I found the ice skates at Goodwill for a little of nothing either and added some red socks to dress them up a bit.
Just another picture of the old foot locker decorations.
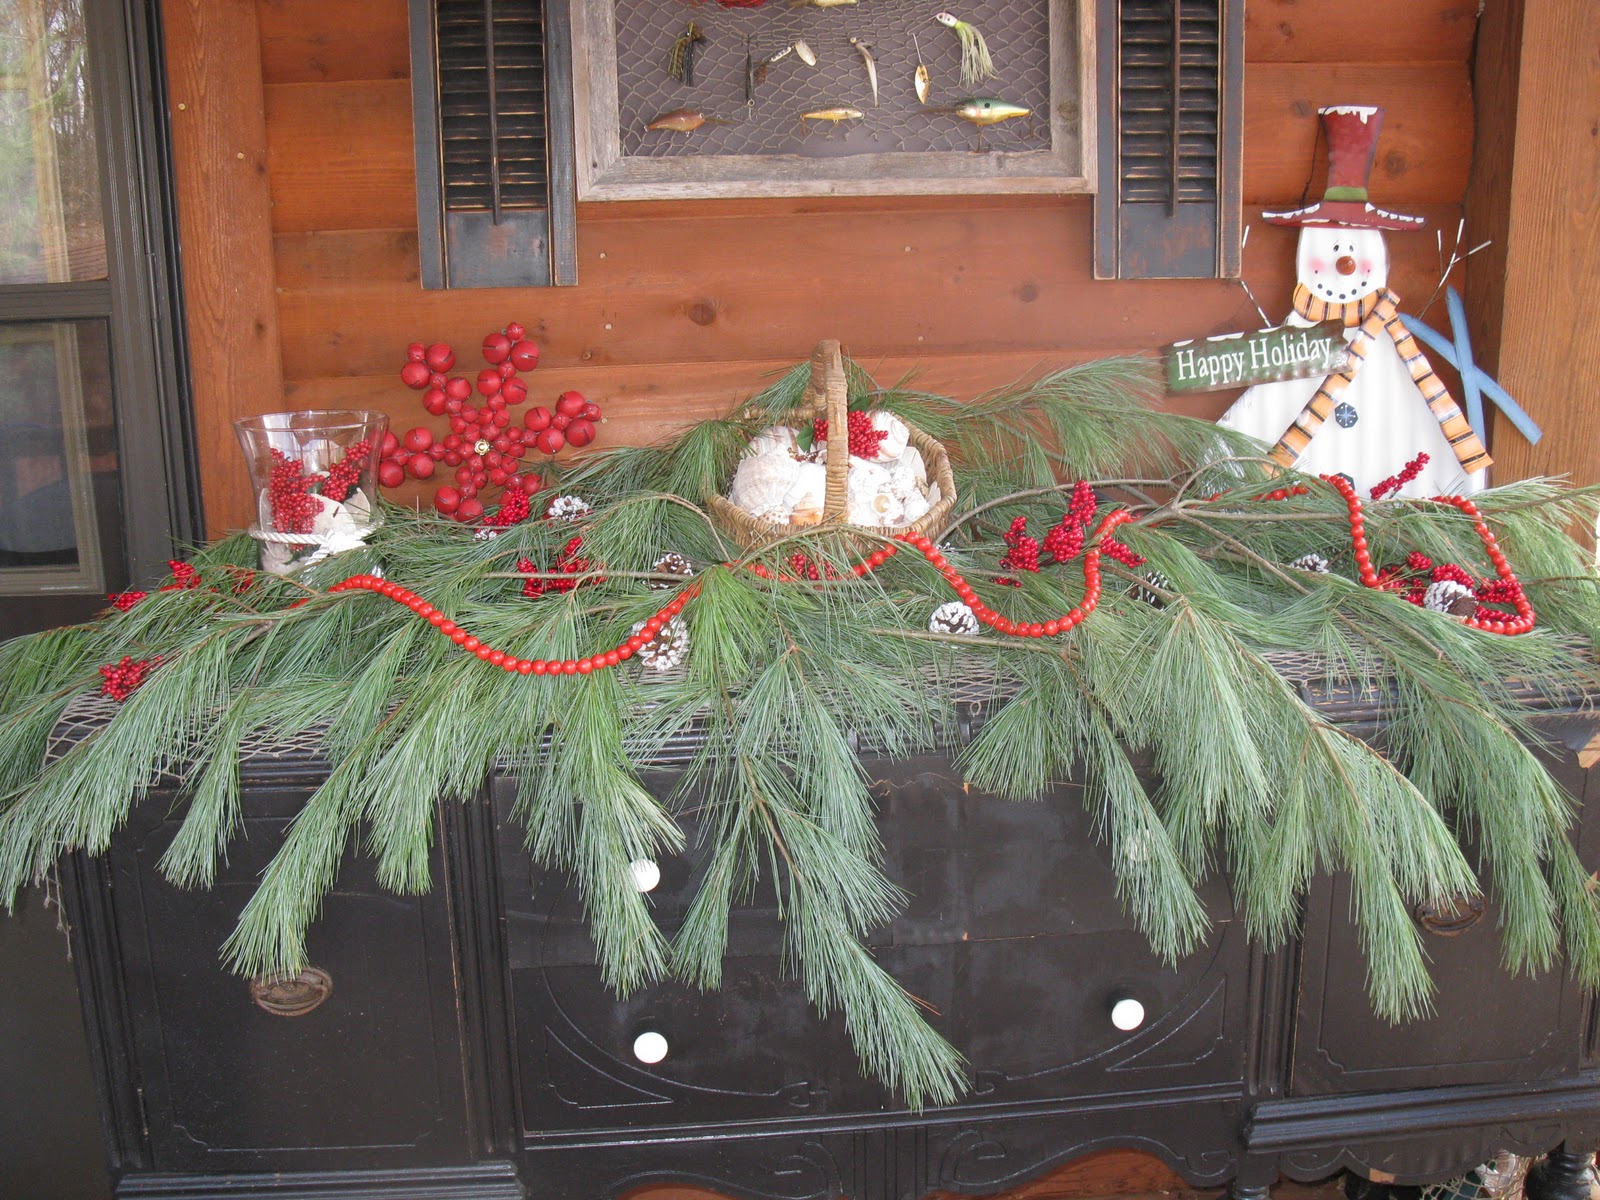
Here is how I decorated the buffet out on the deck this year.
This is just another view of the buffet and that concludes the "Christmas tour of my house" I hope that everyone has a very Merry Christmas and a Prosperous New Year. God Bless each and every one of you and thank you for coming back and I look forward to having some more fun stuff to show you soon! So come on back...you hear???