Wednesday, September 7, 2011
Handmade Smash Journal tutorial.....
Hey all! Welcome back...well it took me a while but I promised that I'd do a tutorial on the smash journal that I showed you all a picture of that I made last month. I made one for myself this time and took the pictures as I was working on it....I'll note what products I used to finish it up at the end of this post. READ ALL INSTRUCTIONS FIRST BEFORE BEGINNING and look for CAPS on really important things. So lets get started...
What you will need for the front and back covers are as follows: (2) 7 3/4" x 10 1/4" chipboard, (1) 14 1/8" x 10 1/4" flexible chipboard (this is extremely flimsy and has to be easily bendable), (1) 3" x 10 1/4" chipboard (this piece will be cut again to use as a reinforcement piece for you latch) ***NOTE the picture above shows the measurements written on each one and you can go by those HOWEVER...the measurement showing what the center measurement is is WRONG....it should of said 5 1/8" rather than 5 1/16". You can see how I cut the triangle section out and all the measurements you'll need.
IMPORTANT** Work from the back inside cover FIRST! Once you have your triangle "reinforcement" piece cut out go ahead and glue that on your larger flexible piece of chipboard and then cut the excess off after the triangle piece is glued on. This way you have a perfect "fit".
After doing the previous step go ahead and grab one of the 7 3/4" x 10 1/4" chipboards and on one side make a tick mark measuring over 2 1/4" on the opposite side of that mark on the BACK side go ahead and apply your glue and glue that to the above piece as shown in the picture. The basics for the back of your journal is now complete the area in the picture that is showing as white will be the area that will bend over and allow for you to Velcro your stick glue and a pen plus it will have plenty of room for your journal to expand. NOTE* 14 1/8" is the longest that I could find for my flexible and bendable chipboard...if you don't want to Velcro a tube of stick glue and a pen on the inside of the journal then you want need to do the offset on that one end.
IMPORTANT** if your planning on using the magnetic closures like I have it is important that you cover the inside of the back cover FIRST so that you can place your closure and then cover it all up when you cover the back side. Just a few notes about covering with pretty cardstock....First off you will need 2 coordinating pieces of cardstock to cover all of it as shown above in the picture and be sure to allow enough room around the edges so you can fold it over to make nice clean edges. (I've shown how to cover cardstock before in previous posts). Secondly, the area where the flexible chipboard is.....I've found that it's best to use a liquid glue for this area such as Quick Dry. But be sure to smear it around nicely before applying your pretty cardstock. The reason I say that is...if you don't use a liquid glue then the "flap" will squeak each time the journal is opened and closed. I learned that lesson after making the first journal. And then Thirdly when your putting your cardstock on...use a bone folder to make crisp edges where the chipboard and flexible chipboard are 2 separate heights. Refer to the above picture and you can see where that was done. It just makes things crisper and cleaner looking as well as will prevent the cardstock from pulling away.
Now once the inside of the back cover had been glued down and all edges have been cleaned up. BE SURE that you have already added your magnetic latch BEFORE covering the back side of your journal. As you can see...I covered this side in the same manner as I did the front side by using 2 different coordinating cardstocks. The only thing to remember now is that you want had to cut your cardstock wider this time. Now you will cut it to fit or better yet leave a little bit about 1/8" so that the other paper will peek out a little all the way around the journal. I think that gives it even more character....AGAIN use liquid glue of some type on the area that will be bending and don't forget to smear it so that you want have bumps showing through to your cardstock.
Now that the back cover is all done...your ready for the front cover. Another reason why I start from the back is because if I started from the front then I wouldn't know exactly where I needed my other half of the magnetic clasp should be placed. So go ahead and cover the front, leaving some excess all the way around. Be sure to snip the triagled edges off all for corners but DON"T get too close to the chipboard. Then place your back piece directly under your front cover....fold the flexible "flap over toward the front cover and figure out where you need the front closure to be located. Go ahead and install that and then cover the inside of the front cover like you did the back side of the back cover.
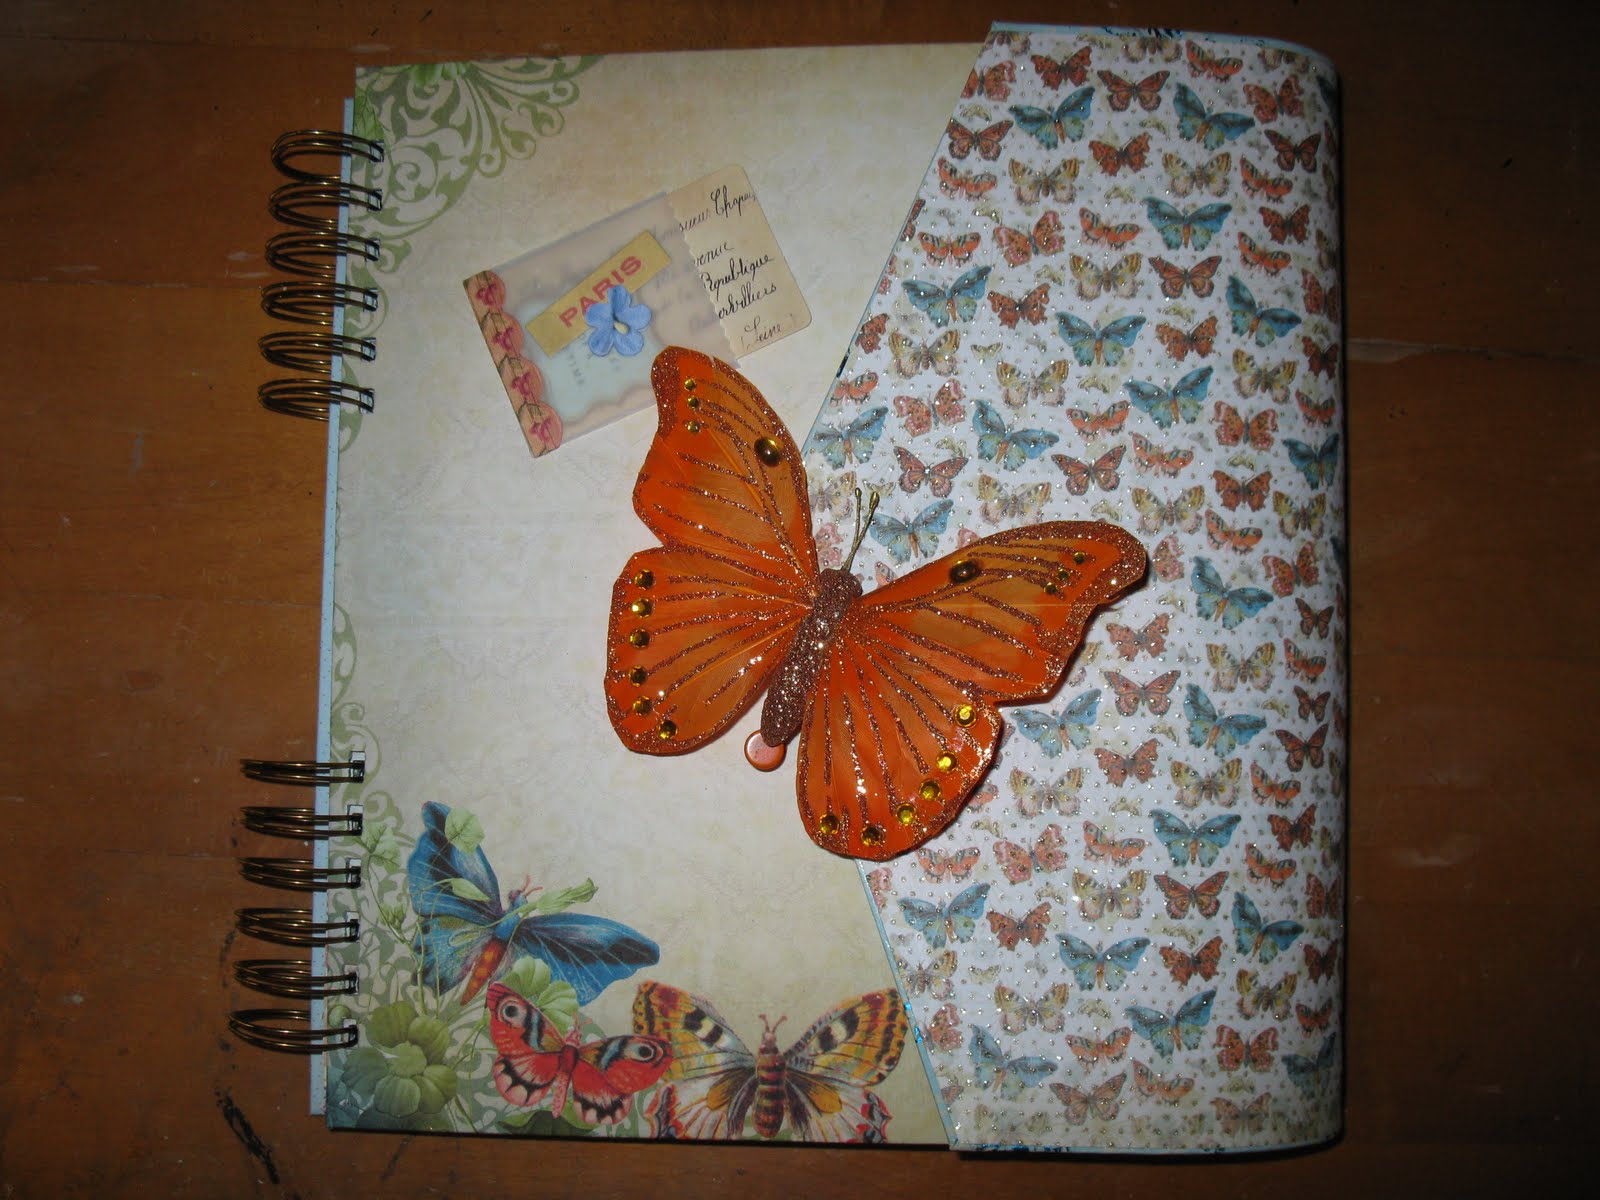
This is what this inside of both the front and back covers looks like. As you can see I added a couple diagonal pockets to mine.
cardstock is showing in the picture. You could let your imagination run wild here on these. The picture below shows another example of how I decorated my envelopes.
Ok well your pretty much done now. You'll need to cut SEVERAL and I mean SEVERAL pieces of cardstock or whatever kind of paper you plan on using inside your journal. The measurements for that is 7 1/2" x 10". I had probably 35-40 sheets in mine (and that's just a guess!)
*FOR BINDING IT: I used my Bind it all...but you could use a hole punch and book rings as well, or you could even use Ribbon if you didnt' want to use book rings.
*THE CARDSTOCK I USED WAS: DCWV Mariposa stack, K & Company Homemade Specialty Papers stack
*CARDSTOCK FOR THE INSIDE: A WIDE VARIETY (I actually just go through and try to use up the stacks that I don't have many papers left)
*MAGNETIC CLASP: came from Hobby Lobby and comes in a package of 3 and are called My Purse Hardware and were $2.99 when I bought them about a year ago
*ZUTTER ROUND IT ALL CORNER ROUNDER FOR THE EDGE CORNERS OF YOUR INSIDE PAGES 1/2" it's the pink one
*ATG GUN
*QUICK DRY GLUE
*BONE FOLDER
*SCISSORS
*TRIMMER
*VELCRO: for you to add your glue and pen inside. Please see the previous post on the other SMASH journal that I made that shows where they go. I am out of glue sticks right now so mine aren't in there yet.
*EMBELLISHMENT: The butterfly I found at Michael's in the bargain bin for $1 and it simply clips on. (wish that I had more of those..I bought the last one they had at the time)
I've tried my best to be as descriptive as I possibly can and hope and pray that I haven't forgotten anything. I think that if you look at the pictures as you read it will make more sense to you. But if you do have a question just let me know and I'll try to help you the best way that I can. Hope that you enjoy and have as much fun making them as I do! I'm going to make mine an inspiration journal and look forward to getting started on it. Have FUN! and give me some feedback letting me know if you made one or not and if you like yours or if you have even more ideas to add to mine.
Come on back soon....I'm going to start on a mini album tomorrow and will try to post day to day pics of my progress on it...so check back often.
P.S. Just because I'm calling this a Smash journal doesn't mean that it has to be that....you could always make one of these and use it as photo album as well.
Saturday, September 3, 2011
Bling it and mean it!......
Suzie and I firmly believe that if its not moving then it's fair game to BLING! and we mean that literally!
Here is the scissors that we blinged up on my visit this year to her house! They are so pretty! Now I just have to get back into my craft room and put them to good work! Oh by the way I was gonna mention the website that I used for my new background on my blog. I found the neatest place to get backgrounds and banners and they are all free and they give you simple steps of how to change your page. As you all know I need all the help I can get. But anyway here is the link for the site http://www.thecutestblogontheblock.com/
Pies, Pies and MORE Pies!
On my visit to see my best friend and sis Suzie in Oklahoma this year, she asked me what I wanted to learn to cook this time and I said PIE! So that's exactly what we did and I was so thrilled and excited that I actually did it myself.......with the guidance of Mrs. Betty Crocker herself aka Suzie.
Here we are....Suzie said that I was a good student......it takes a good teacher to make a good student. Thank you so much there is no way that I could of done it without you helping and guiding me.
The filling for the chocolate pie! YUM!
It's topping time!
Waaaaa Laaaa here is the final product of this pie...a good old fashion chocolate!
Here we have a pecan pie and a quiche.....Supper and dessert! YUMMMMMY!
And yes we do deliver to one of the sweetest couples in Porum Landing! Jojo and Tuffy loved it....psssst we had to wear our "uniforms" while delivering and had to ride to the neighbors in style...on Suzie's pink golf cart! weeeeeee!!! I still can't believe that I now know how to make pies! I'm so excited about it!
Here we are....Suzie said that I was a good student......it takes a good teacher to make a good student. Thank you so much there is no way that I could of done it without you helping and guiding me.
The filling for the chocolate pie! YUM!
It's topping time!
Waaaaa Laaaa here is the final product of this pie...a good old fashion chocolate!
Here we have a pecan pie and a quiche.....Supper and dessert! YUMMMMMY!
And yes we do deliver to one of the sweetest couples in Porum Landing! Jojo and Tuffy loved it....psssst we had to wear our "uniforms" while delivering and had to ride to the neighbors in style...on Suzie's pink golf cart! weeeeeee!!! I still can't believe that I now know how to make pies! I'm so excited about it!
Wednesday, August 3, 2011
My handmade smash book.....
Ok I'm going to first share with you all what my inspiration was for this journal. So please watch the video and then scroll on down and see what else I have to say about it along with my take on a smash journal.
Ok now that you've seen the video. I'd like to say this. First off I've found that even though these were introduced back at the winter CHA K & Company still didn't allow for the type of sales that they had to of known would happen. If you are one of the lucky ones that actually have one then good for you. I myself however was told that I'll have to wait until the latter part of August before I can get one. I clearly can not wait that long soooooo what's a crafty girl to do??? Yep make my own. I wanted to have one of these to give my best friend Suzie when I go visit her later on this month. So I watched the above video and took the things that I really liked about it and came up with an idea for me to make my own including the little things that I really like about K & Company's Smash journal. But to tell you the truth.....I like mine must better and I'm not sure that I even want a store bought Smash journal now. So if K & Company think that this is just a ploy for more exposure for their new product...Then personally I think someone at the company needs to open their eyes and realize that crafters aren't ones that tolerate waiting for very long before they too get to work and make the products themselves or finds an alternate.
So now without further ado.....here is what I came up with...
Ok these are a little out of order but that's ok at least they are all on here going the right direction and no one has to turn their head sideways to see the pics. In this above picture you can see what the journal looks like closed.
Here is the back side of the journal (again sorry that these are out of order)
The above picture is the back page of the journal. As you can see I added a slanted pocket to tuck things in until you can glue them in your journal. And speaking of glue.....I really liked the idea of the K & Company Smash pen....it has glue in one end and a pen in the other and they have a convenient place for it on the side of the journal. Well I had to include those things that I really liked in my journal because I truly want this journal to be one that can travel around in a purse or whatever and so that you will have everything at your fingertips. So I just pulled out some velcro that I had, grabbed a tube of new stick glue and a new cute pen and put velcro on all of them so that they will stay put right inside the journal.
Here is the last picture...it's actually a picture of the front cover and first sheet in the journal. As you can see I added another slanted pocket to hold lose things in case your in a hurry and can't glue them in instantly. I really like this journal and am going to make myself one and am thinking that I'm not even going to worry with buying a Smash journal from K & Company. Sorry......I like mine better and K & Company missed out on my purchase. I hope that this inspires the rest of the crafters out there that are sitting around and waiting for the Smash journal to become available again to just go to your craft room and make your own. They are TONS of fun to make! I am going to try my best to do a tutorial on here when I'm making my journal so if you like this style then keep checking back to see if I've posted a tutorial on it. Have a great one everyone....and I'll see ya later!
Monday, August 1, 2011
Shadow box.....
Hey everyone and welcome back. Here is what I made for my niece for her upcoming wedding in 2 weeks. I had bought this shadow box kit at Scrapbuck.com a long time ago..matter of fact I bought 2 of them because they were dirt cheap. (NO I'm not affiliated with that company in any way! I'm just a disabled housewife who loves to craft and decorate and have to do it all on a budget) So when I was trying to figure out what I could do for my niece for her wedding I ran across this in my stash and thought it would be perfect. It is a K & Company kit and I also had the same paper pack in my stash as well. So I went to work.....just about everything on the inside is 3 dimensional which was loads of fun. Then I added some brown silk ribbon for her to use to hang it with. I hope that she likes it.
Altered Composition book for Reunion....
I thought that it would be nice to make this also to donate to the reunion for everyone to sign in. We had been using a wire bound notebook and I was thinking that I could help out by making us something pretty. I didn't get real detailed on the front of this and tried to keep everything as flat as possible so that it would be easier to write in and would hold up much longer.
I'm sure everyone has seen the plain black and white composition books that have been altered but I thought that I'd share anyway....I decorated the front and back inside covers as well and made pockets.
Now it's on to working on a wedding gift.......stick around because it's coming right up....
I'm sure everyone has seen the plain black and white composition books that have been altered but I thought that I'd share anyway....I decorated the front and back inside covers as well and made pockets.
Now it's on to working on a wedding gift.......stick around because it's coming right up....
Reunion album completed.....
*WARNING THIS POST IS LOADED WITH PICTURES
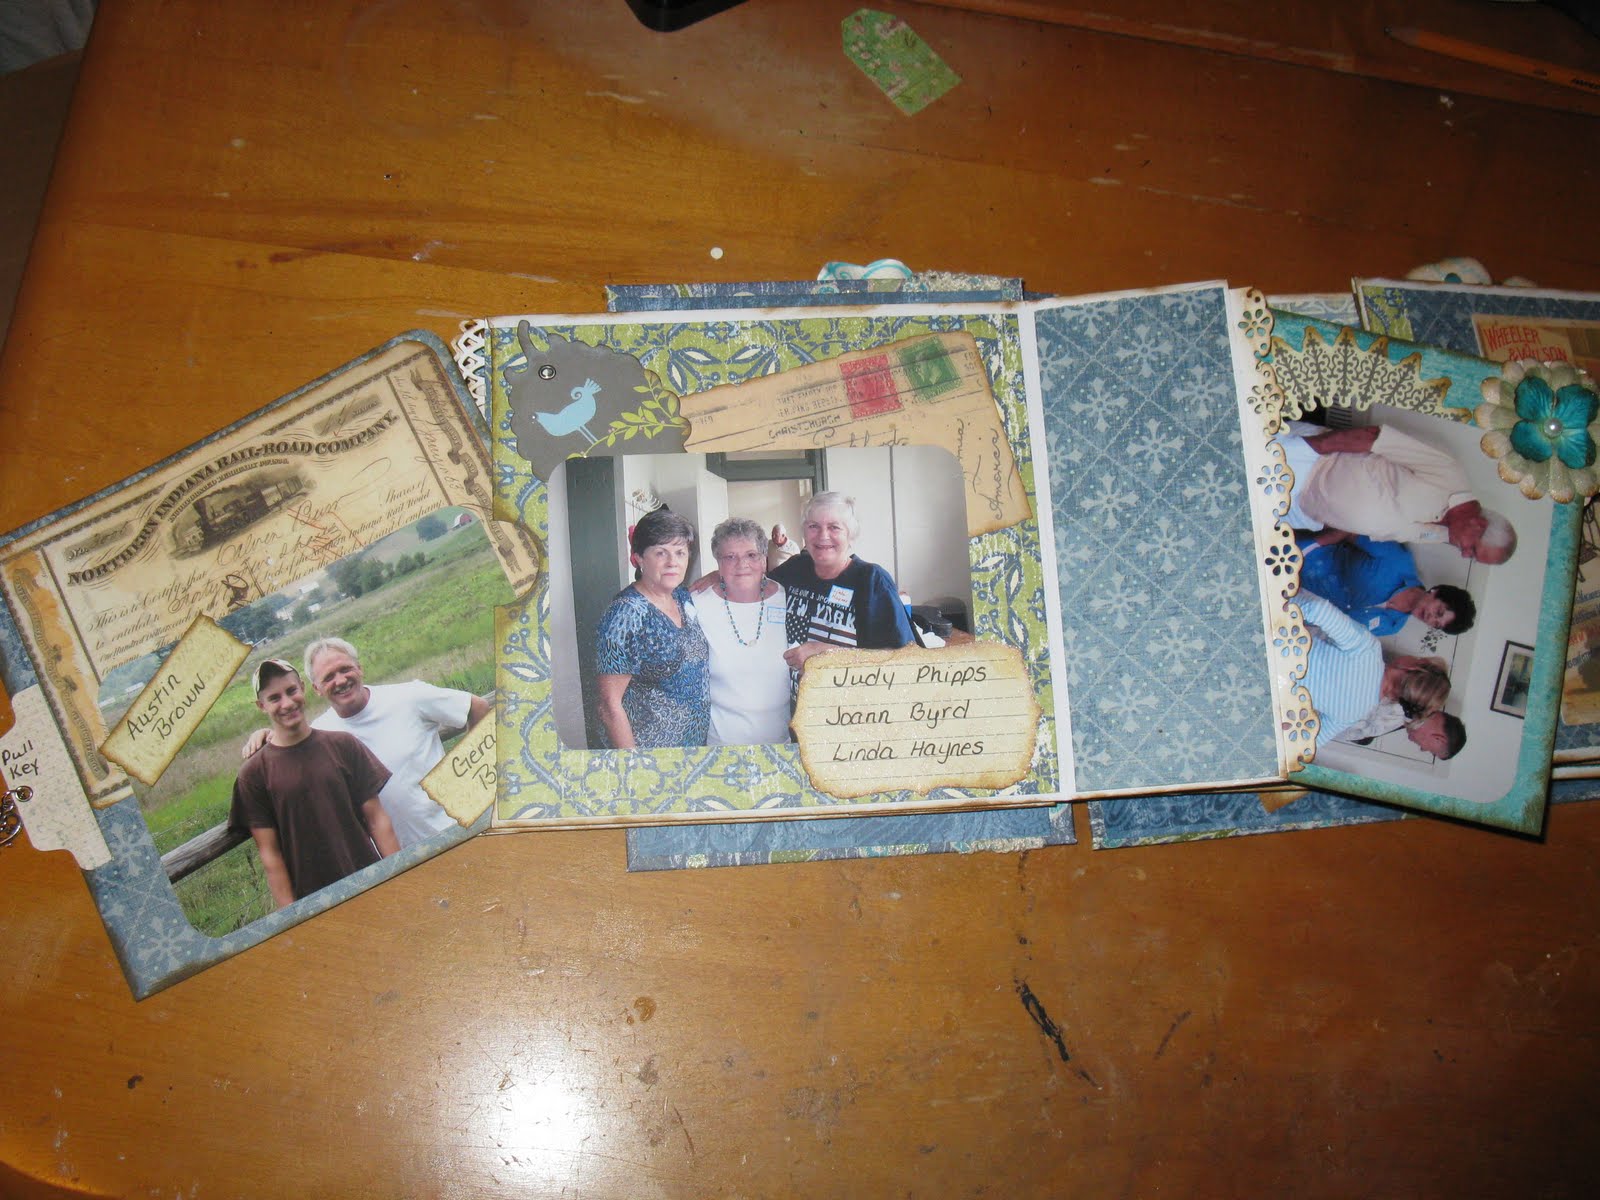
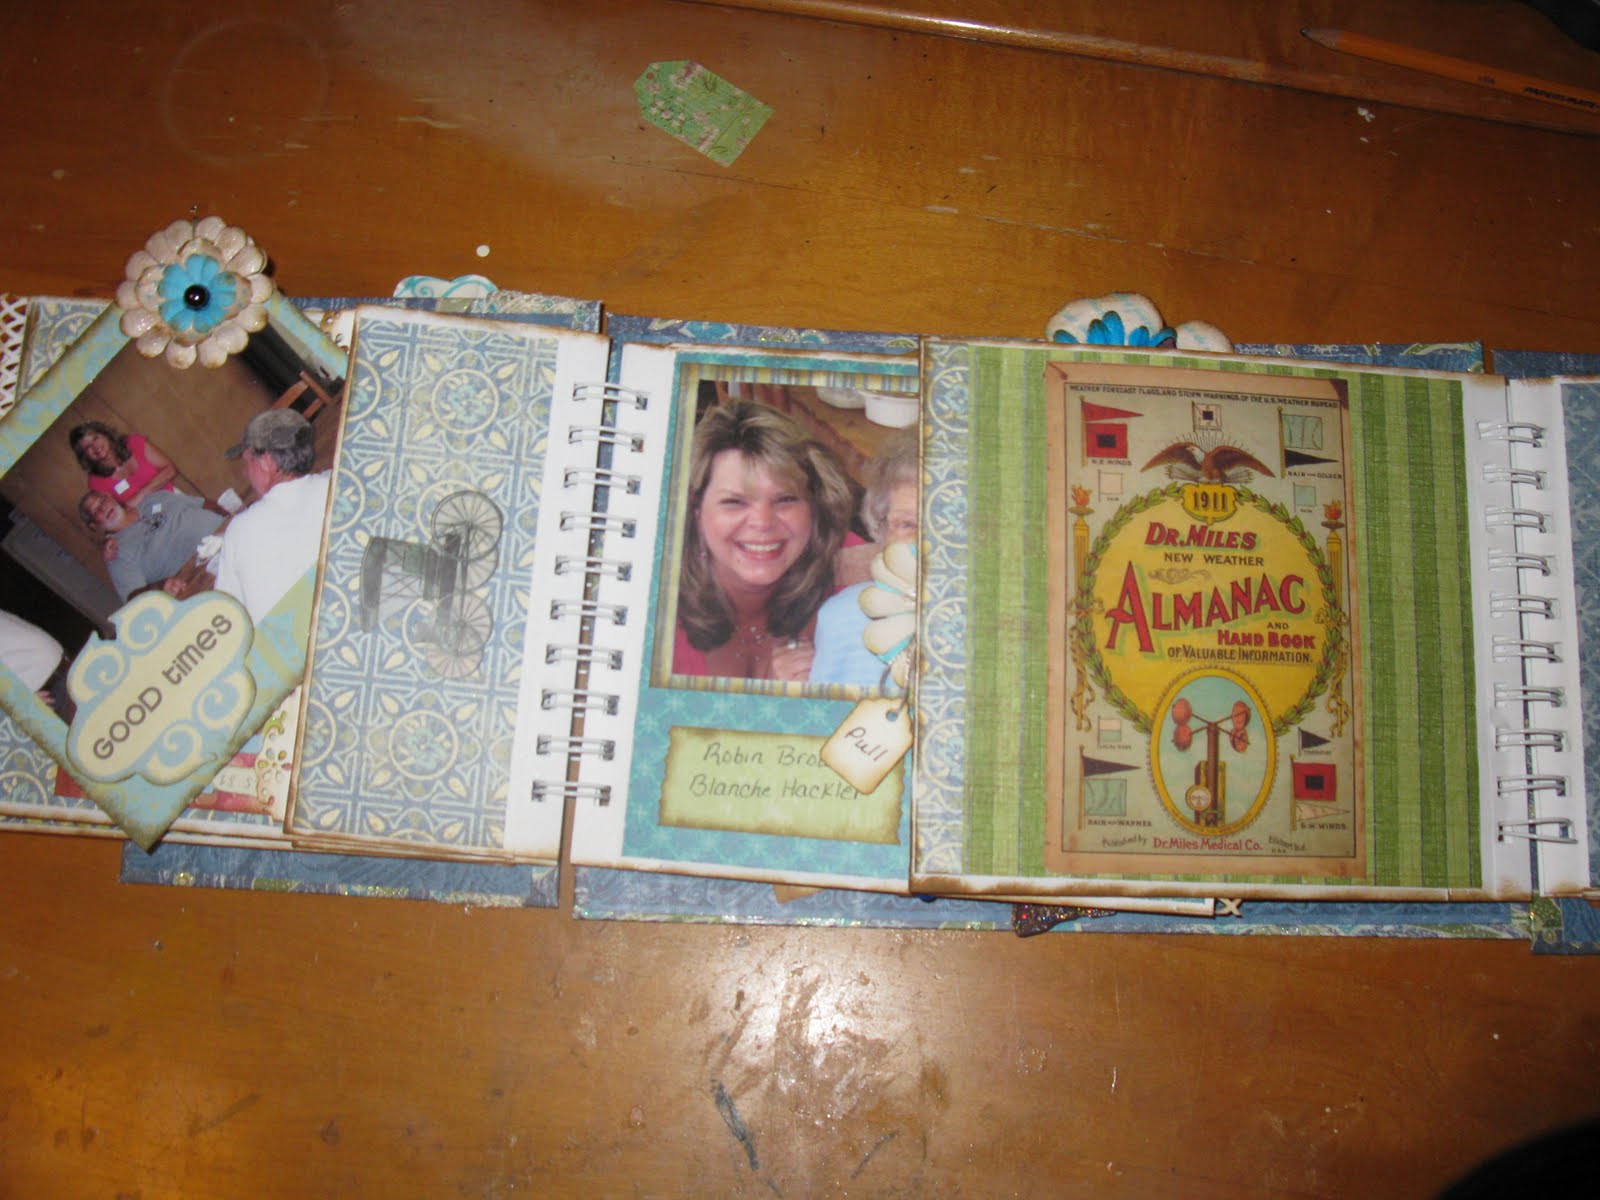
Hey all! I started this album back almost a year ago and you all might remember me posting a picture of it. Well I have finally finished it. I had planned on keeping it for myself but then decided to donate it to my family for them to have it to show at the reunion each year.
Sorry about some of these pictures being turned the wrong way....I'm still not sure why they are doing that even though I flip them and save them before I post them....
I really struggled with adding these pictures because I was reflecting on all the ones that passed away just this year...it was not a good year for our family at all.
I thought that it would be a good idea to instructions in the album so if i wasn't around to show them how it was animated then they could follow directions.
Enjoy looking.....
I'm so bad....I need to get some names at the reunion this year so I can write their names in....I hate when I can't remember my cousins married names!
oh my word.....I'm so sorry that this one is upside down.....
Our reunion is this year is this coming weekend. I look forward to getting to see everyone again. I'm not sure where this pattern came from that I used for this album. It may have been something that Laura from Following the Paper Trail had done but I'm just not sure. It's been so long I honestly don't remember. I know I haven't bought a pattern like this so not sure if it was my twist on something I saw someone else doing or what. Anyway, hope that you enjoyed looking......I have much more to show you so stick around...
Hey all! I started this album back almost a year ago and you all might remember me posting a picture of it. Well I have finally finished it. I had planned on keeping it for myself but then decided to donate it to my family for them to have it to show at the reunion each year.
Sorry about some of these pictures being turned the wrong way....I'm still not sure why they are doing that even though I flip them and save them before I post them....
I really struggled with adding these pictures because I was reflecting on all the ones that passed away just this year...it was not a good year for our family at all.
I thought that it would be a good idea to instructions in the album so if i wasn't around to show them how it was animated then they could follow directions.
Enjoy looking.....
I'm so bad....I need to get some names at the reunion this year so I can write their names in....I hate when I can't remember my cousins married names!
oh my word.....I'm so sorry that this one is upside down.....
Our reunion is this year is this coming weekend. I look forward to getting to see everyone again. I'm not sure where this pattern came from that I used for this album. It may have been something that Laura from Following the Paper Trail had done but I'm just not sure. It's been so long I honestly don't remember. I know I haven't bought a pattern like this so not sure if it was my twist on something I saw someone else doing or what. Anyway, hope that you enjoyed looking......I have much more to show you so stick around...
Subscribe to:
Posts (Atom)